Ladner Village Kitchen Cabinet Repaint
Texora Painting & Drywall's complete kitchen cabinet repaint: doors and drawer fronts removed, shop-painted with Sherwin-Williams Emerald Urethane, and reinstalled in three days. This job is one of our cabinet painting projects.
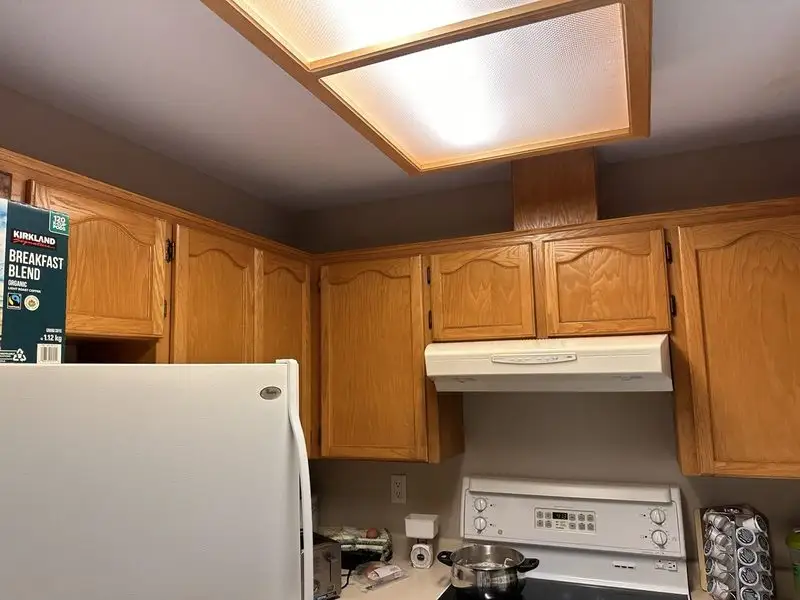
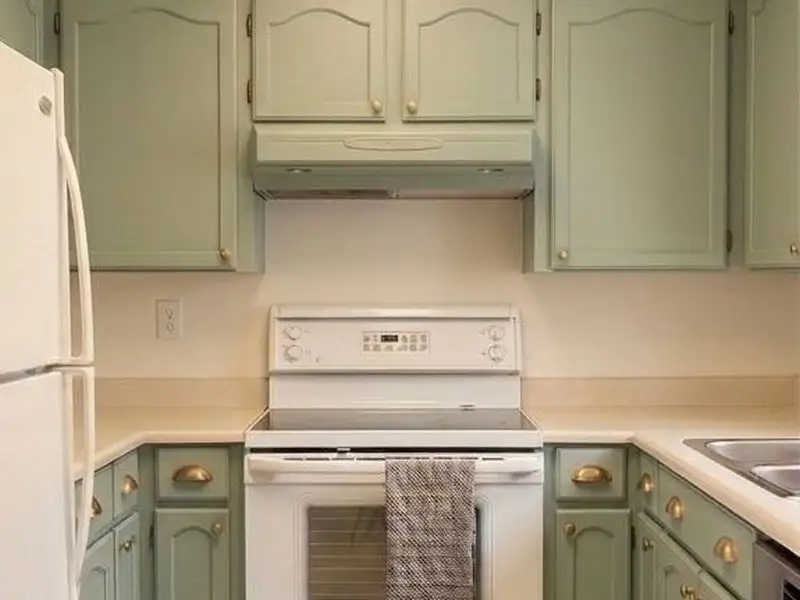
Get Your Free Quote → Call (604) 417-6483 ← Back to ProjectsExample before and after photos
Project specs
| City | Ladner, BC |
| Neighbourhood | Ladner Village |
| Service Type | Cabinet Painting |
| Duration | 3 days (doors off, shop-painted, reinstalled) |
| Materials Used | Sherwin-Williams Emerald Urethane Trim Enamel, Mirka DEOS sanding system, 2K adhesion primer, tack cloths |
Scope of work
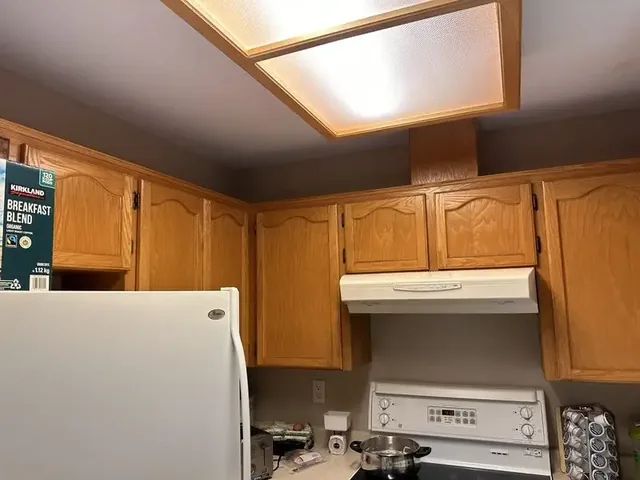
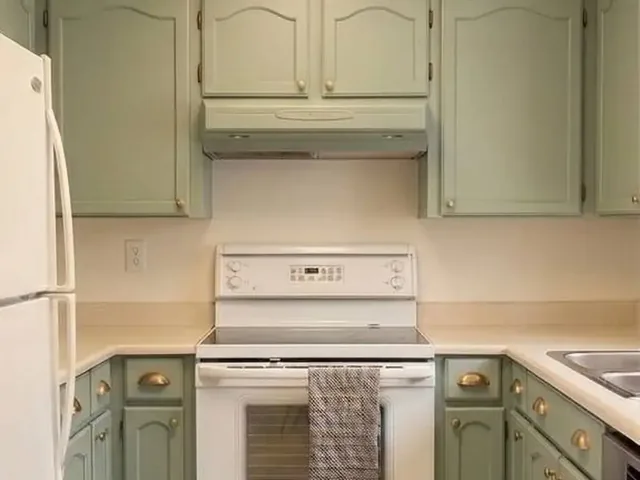
Cabinet painting changes the look of a kitchen at a fraction of the cost of replacement. This Ladner Village kitchen had original oak-stained cabinets that the homeowners had long wanted to modernize. They chose a classic warm white that would brighten the space and work with their new countertops.
If you are painting the kitchen walls as well, see interior painting in Ladner.
Our cabinet painting process is different from a standard brush-and-roll approach. Every door and drawer front is removed and painted off-site in controlled conditions for a factory-smooth result:
- All cabinet doors and drawer fronts removed, labelled, and transported for shop painting
- Cabinet boxes (frames) remaining in kitchen: sanded and deglossed in place
- All surfaces cleaned with a degreaser to remove cooking oil and residue
- Full sand with Mirka DEOS random orbital system: 120 grit then 180 grit finish
- Two-component adhesion primer applied to all surfaces: bonds to existing finish without stripping
- Two coats Sherwin-Williams Emerald Urethane Trim Enamel: spray applied for glass-smooth finish
- Light scuff sand between coats for perfect surface preparation
- Reinstallation of all doors and drawer fronts with new soft-close hardware
- Final alignment adjustment of all doors for even reveal and consistent gaps
Emerald Urethane is the premium choice for cabinets: its urethane-modified alkyd formula cures to a hard, washable surface that resists chipping, scratching, and yellowing far better than standard latex paints. The homeowners will be wiping down these cabinets for years without worrying about the finish degrading.
Our process
Door removal & labelling
All cabinet doors, drawer fronts, and hinges carefully removed and labelled with their exact cabinet position. This ensures perfect reinstallation: no guessing which door goes where after painting.
Degreasing & sanding (in-kitchen)
Cabinet boxes cleaned with TSP substitute degreaser, particularly around the range area. All box surfaces scuff-sanded with 150-grit to give the primer a mechanical key to bond to.
Shop sanding: doors & drawers
Removed doors laid flat and run through the Mirka DEOS system: 120-grit to remove any gloss and surface defects, then 180-grit for a refined surface. Tack-clothed thoroughly before any primer touch.
2K primer application
Two-component adhesion primer applied by spray to all surfaces. This high-build primer fills minor grain and scratches while creating an excellent bond for the topcoat. Applied to both box faces in-kitchen and all doors/drawers at the shop.
Emerald Urethane topcoats: spray applied
Two coats of SW Emerald Urethane applied by HVLP spray gun to all surfaces. Spray application creates the factory-smooth finish that brush-and-roll cannot achieve. Light scuff sand (320-grit) between coats.
Reinstallation & alignment
Doors and drawer fronts reinstalled in their labelled positions. All hinges adjusted for consistent reveal and gap.
Soft-close hardware installed. Final wipe-down and clean of all surfaces before handoff.
"They do know what they are doing Highly recommend 🙏🏼"
Our Work
More before and after photos from Texora jobs
Before and after photos from Texora painting and drywall jobs.