Drywall Taping & FinishingExpert Drywall Taping for Flawless Walls in Delta
Taping and finishing is the most labour-intensive phase of any drywall project — and the most visible. Done right, it's invisible. Done wrong, every seam shows. Texora Painting delivers flawless finishes across Delta, Tsawwassen, and Ladner.
Get a Free Finishing QuoteWhat Is Drywall Taping and Finishing?
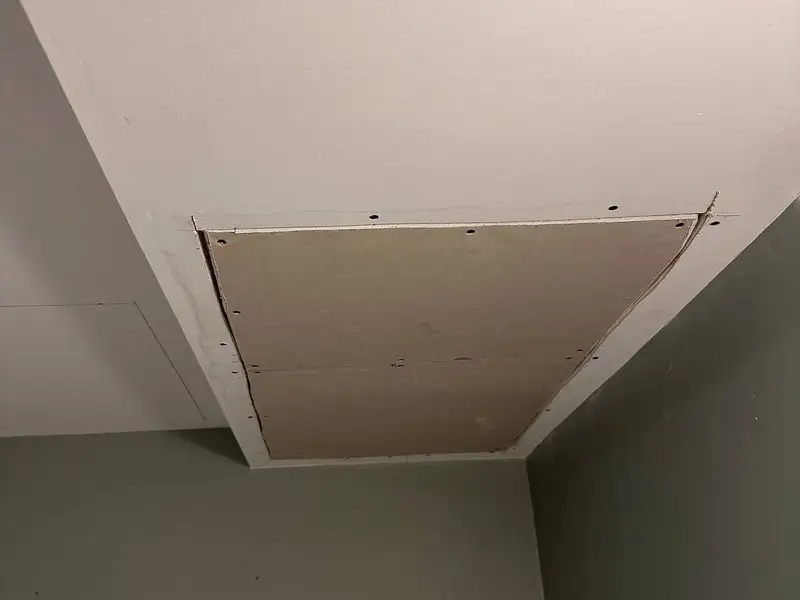
After drywall sheets are hung, you have a surface covered with seams, fastener holes, corner bead transitions, and raw edges. Taping and finishing is the multi-stage process that transforms this raw surface into a smooth, paint-ready wall. It is the single most skill-dependent part of interior drywall work — and it's where the quality difference between a professional finish and an amateur one becomes unmistakably visible once paint goes on.
The taping and finishing process involves embedding joint tape at all seams, applying and feathering multiple coats of joint compound (commonly called mud), sanding to a smooth surface between coats, and finally priming before paint. Each coat must dry completely before the next is applied — typically 24 hours per coat under normal conditions in Delta's climate. The total process takes a minimum of 3–5 days and cannot be safely rushed without compromising the final result.
The Three-Coat Finishing Process
Coat 1 — Embedding (Base Coat)
The first coat serves two purposes: it embeds the joint tape into wet compound at all seams and butt joints, and it fills the fastener dimples. Paper tape is pressed into the wet compound along every seam and smoothed flat with a 6" knife. At corner beads, compound is applied flush to the bead. This coat is relatively thin and tight — its job is adhesion and tape embedding, not filling. Setting compound (hot mud) is often used at butt joints for its superior hardness.
Coat 2 — Fill Coat
Once the base coat is fully dry and hard, the fill coat is applied with a wider knife (8"–10"). This coat extends further from the seam in both directions, beginning the feathering process. Fastener dimples receive a second fill coat. The goal is to build up the slight hollow at seam locations so the surface begins to flatten out. Mistakes made here — inconsistent width, uneven edges — will show in the finish coat.
Coat 3 — Finish Coat
The finish coat is the most critical and the widest. Applied with a 10"–12" or wider knife, it extends the feathered zone so the seam transitions gradually into the surrounding surface over a distance of 12–18 inches on each side. The compound is mixed to a creamy consistency and applied in the thinnest possible layer. No ridges, no tool marks. Once dry, this surface is sanded to a glass-smooth finish ready for primer.
Levels of Drywall Finish
The construction industry defines five levels of drywall finish. Understanding which level is right for your project is important because it directly affects the cost and the outcome under different lighting and paint conditions.
Standard Residential
Tape embedded, two coats of compound, sanded. Suitable for walls receiving medium or heavy texture. Not ideal for smooth or semi-gloss painted walls as seams may show.
Semi-Gloss Ready
Tape embedded, three coats of compound, sanded smooth. The standard for most residential walls receiving flat or eggshell paint. Required before applying wall texture over smooth surfaces.
Premium / Gloss Ready
Full three-coat finish plus a final skim coat applied over the entire surface. Creates a perfectly uniform surface with no variation. Required for walls receiving semi-gloss or gloss paint, or any surface in critical raking light conditions.
Why Level 5 Finish Matters for Interior Painting
When a wall with standard Level 3 or 4 finish receives semi-gloss or high-sheen paint, seams and fastener locations often become visible — not as ridges, but as subtle variations in how light reflects off the surface. This phenomenon, called "photographing," happens because the drywall face paper and the joint compound absorb and reflect paint differently. A full Level 5 skim coat eliminates this by creating a single, uniform substrate across the entire surface. Texora Painting always discusses finish levels with clients before starting work on spaces where higher-sheen paints will be used.
Related Services
Drywall Taping & Finishing — FAQs
Drywall finishing is the complete process of embedding tape at seams, applying multiple coats of joint compound, sanding smooth, and priming — turning raw hung drywall into a flawless surface ready for paint. It is the most time-consuming and skill-dependent phase of any drywall project. The quality of the finish is what determines how the final painted surface looks and performs for years to come.
A standard finish requires three coats: a base (embedding) coat, a fill coat, and a finish coat. Each coat gets progressively thinner and wider — feathering the seam transition so it disappears into the flat wall surface. Some projects (Level 5 finish) require a fourth skim coat over the entire surface. Each coat requires a full 24-hour dry time under normal conditions.
Level 5 is the premium finish standard — a standard three-coat finish plus a final thin skim coat applied across the entire wall surface, not just at seams. This creates perfect uniformity from edge to edge. It is required for any wall receiving semi-gloss or gloss paint, and recommended for any space with critical raking light such as rooms with large windows or recessed linear lighting. It costs more but eliminates the "photographing" effect where seams ghost through high-sheen paint.
A minimum of 3–5 working days for a standard three-coat finish: one day per coat (each requiring 24 hours to dry), plus a final day for sanding and priming. In Delta's fall and winter months, cooler temperatures and higher humidity extend drying times. We account for this in our project timelines and never rush the process.
No — raw drywall and joint compound must be primed before painting. Without primer, paint soaks into the compound and drywall face paper at different rates, creating visible blotchiness (called "flashing") even with multiple coats of paint. A coat of drywall PVA primer seals both surfaces to a uniform porosity, ensuring even paint absorption and professional results.
Banding — visible ridges, shadows, or lines at seam locations — results from mud coats that weren't feathered wide enough or that were applied too thick at the seam centre. The fix requires re-working the affected seams: skim the area flat, add wider feathering passes, let dry, re-sand, re-prime, and repaint. Simply painting over banding with additional coats does not fix it — the structural cause in the compound must be corrected.
Regular joint compound (all-purpose, lightweight, or topping compound) dries by moisture evaporation — it stays workable for an extended time but takes 24 hours to fully cure. Setting compound (hot mud) dries by chemical reaction — it sets in 20–90 minutes and becomes extremely hard. We use setting compound at butt joints and repairs for its superior strength, and regular compound for second and third coats where smoothness and workability matter most.
The correct preparation sequence is: complete all three mud coats and let cure fully; sand all seams, fastener dimples, corner bead transitions, and any ridges smooth; vacuum and wipe all dust from surfaces; apply one full coat of drywall PVA primer or quality drywall primer-sealer; let primer dry completely; lightly sand any raised grain or dust nibs; then apply topcoat paint. Skipping any step — particularly the primer — will result in a noticeably inferior paint finish.
Delta Homeowners Count on Texora for Flawless Walls
5-star rated for precision, craftsmanship, and lasting results.
"Absolutely amazing work! The attention to detail and professionalism really stood out, and the final result completely exceeded expectations."
"Great service, amazing people!"
"They do know what they are doing. Highly recommend."
Our Work
See the Results
Live photos from our Google Business page — updated automatically as we add more projects.