Port Coquitlam Exterior Repaint
Texora Painting & Drywall's full exterior repaint of a large 2-storey home in Citadel Heights: mixed hardie board and stucco siding, each surface prepped and primed differently for lasting results. This job is one of our exterior painting in Port Coquitlam projects. Rooms, ceilings and trim inside are covered by our interior painting service.
Get Your Free Quote → Call (604) 417-6483 ← All Texora projectsExample before and after photos
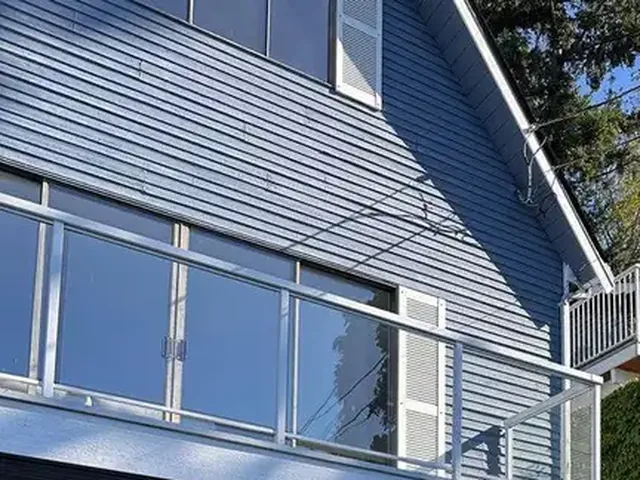
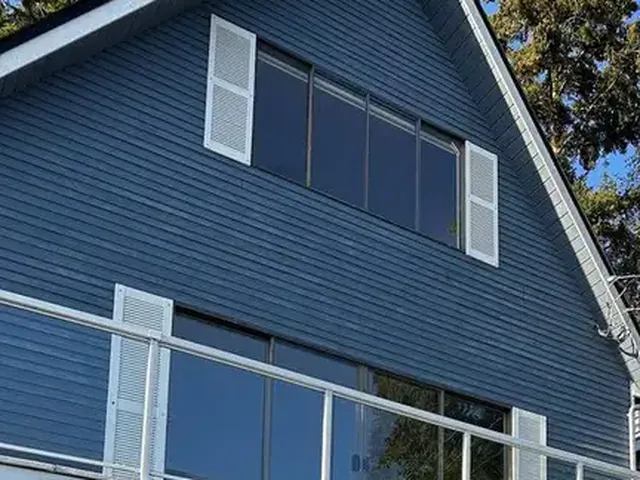
Project specs
| City | Port Coquitlam, BC |
| Neighbourhood | Citadel Heights |
| Service Type | Exterior Painting |
| Duration | 5 days |
| Materials Used | Sherwin-Williams Duration Exterior, Loxon XL Masonry & Stucco Primer for stucco sections, Bonding primer for hardie board, back-rolled finish |
Scope of work
Homes in Citadel Heights often feature the mixed siding combination common to late-1990s and early-2000s construction in the Tri-Cities: hardie board (fibre cement) on the lower level, stucco on the upper, with wood trim throughout. Each of these substrates has different requirements for proper prep and priming, and getting them wrong is the most common cause of premature paint failure on mixed-siding homes.
This Citadel Heights home's paint was faded and chalking on both substrates, with some efflorescence (salt deposits) on the stucco upper level. The scope included:
- Full pressure wash of all surfaces: 1,800 PSI on stucco, lower pressure on hardie board to avoid forcing water into joints
- Treatment of stucco efflorescence with masonry cleaner before priming
- Caulking all hardie board butt joints, trim interfaces, and window/door frames
- Loxon XL Masonry & Stucco Primer on all stucco surfaces: specifically formulated to seal porous masonry and provide alkali resistance
- Bonding primer on hardie board sections: ensures topcoat adhesion on the fibre cement surface
- Two coats SW Duration Exterior on both substrates: same colour scheme for visual unity
- All wood trim, fascia, and window casings painted in contrasting trim colour
- Back-roll technique used on all surfaces for consistent texture and coating thickness
The key technical challenge on this project was ensuring the two different primers didn't create visible sheen or texture differences when the topcoat was applied over both substrates on the same elevation. Back-rolling both sections in the same application window, with consistent pressure and technique, is what produces an even result.
Our process
Assessment & substrate mapping
Detailed walk-around to map all substrate types and identify any areas of cracking, delamination, or moisture damage in the stucco. Any cracks wider than 1/8" in the stucco noted for caulking. Hardie board joints inspected for failed caulk.
Pressure wash & dry time
Full exterior washed working top to bottom. Stucco washed at 1,800 PSI; hardie board at 1,200 PSI. 48-hour dry time observed: stucco is highly porous and retains water longer than wood-based substrates.
Efflorescence treatment & caulking
Stucco efflorescence treated with masonry cleaner and rinsed. All hardie board butt joints re-caulked.
All window and door frames on both substrates caulked. Stucco cracks filled with elastomeric caulk: flexible enough to accommodate the slight movement stucco experiences seasonally.
Substrate-specific priming
Loxon XL applied by roller to all stucco sections: its high build fills the texture uniformly and blocks alkalis that cause premature yellowing. Bonding primer applied by roller to all hardie board sections. Both primers allowed full cure time before topcoat.
Two-coat Duration application
SW Duration applied in two full coats across all surfaces. Working elevation by elevation, cutting in at trim lines and substrate changes first, then back-rolling the field.
Trim, fascia, and window casings painted last for clean lines. Final walk-through with homeowners before sign-off.
"Absolutely amazing work! The attention to detail and professionalism really stood out, and the final result completely exceeded expectations"
Our Work
More before and after photos from Texora jobs
Before and after photos from Texora painting and drywall jobs.
